Note: Before defining an approval policy, ensure that the required user has been granted permission to access Approval Management Policy. Without proper access rights, the user will not be able to create or manage approval settings. Refer to the permission setup screen as shown in the image below.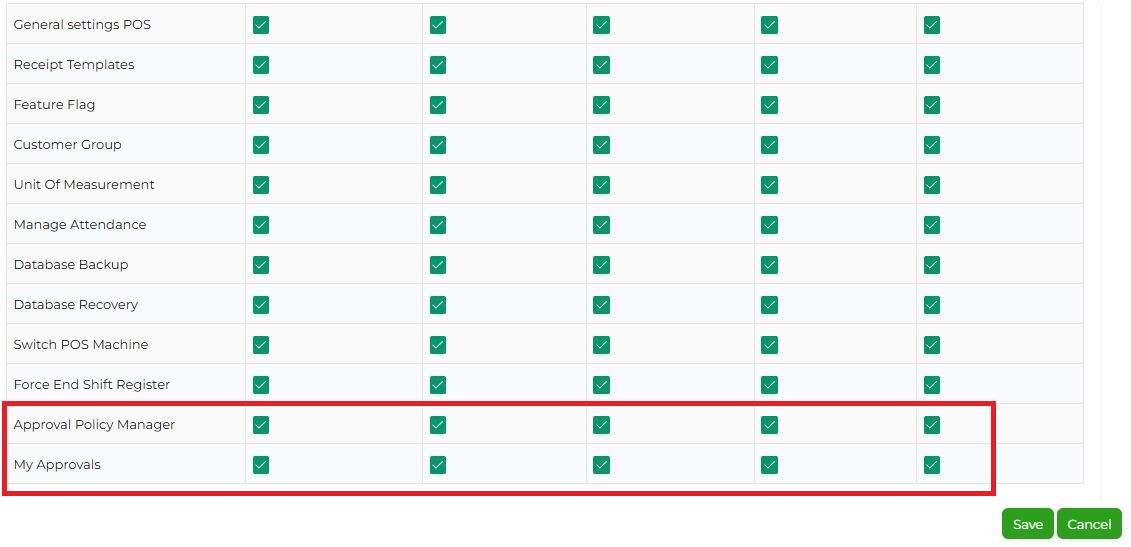
Defining and Processing Approval Policy
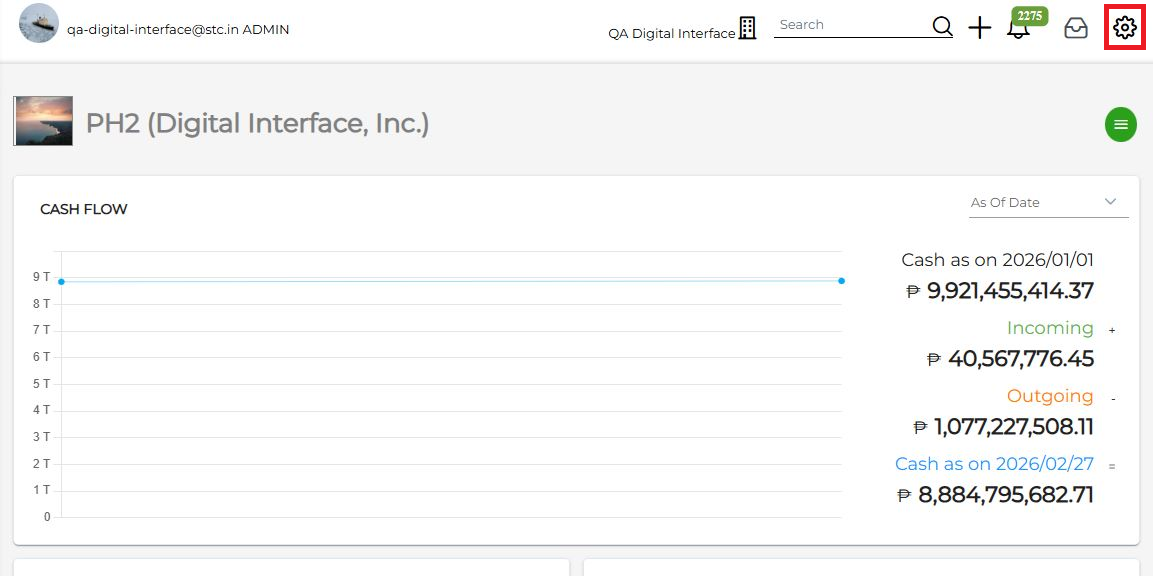
- On Dashboard click on the settings icon on the top right corner, as illustrated in the image below.
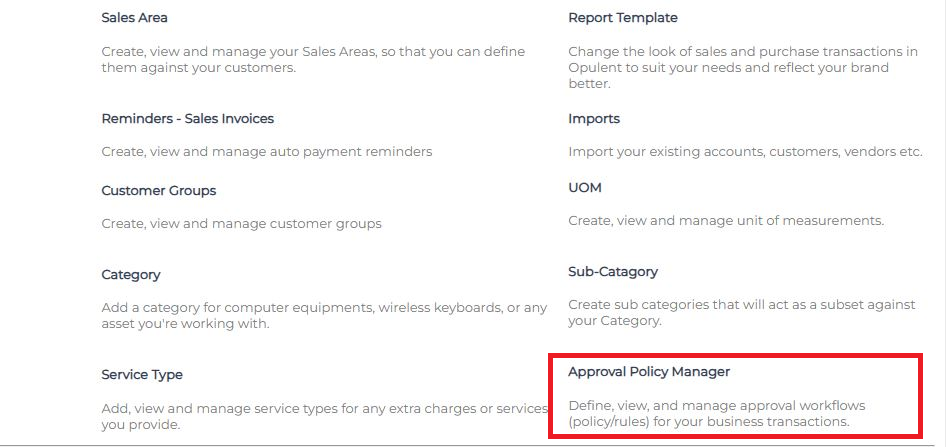
- You will be directed to the Business Settings page. Locate and select "Approval Policy Manager" in ORGANISATION PROFILE Section. A list of existing approval policies will be displayed.
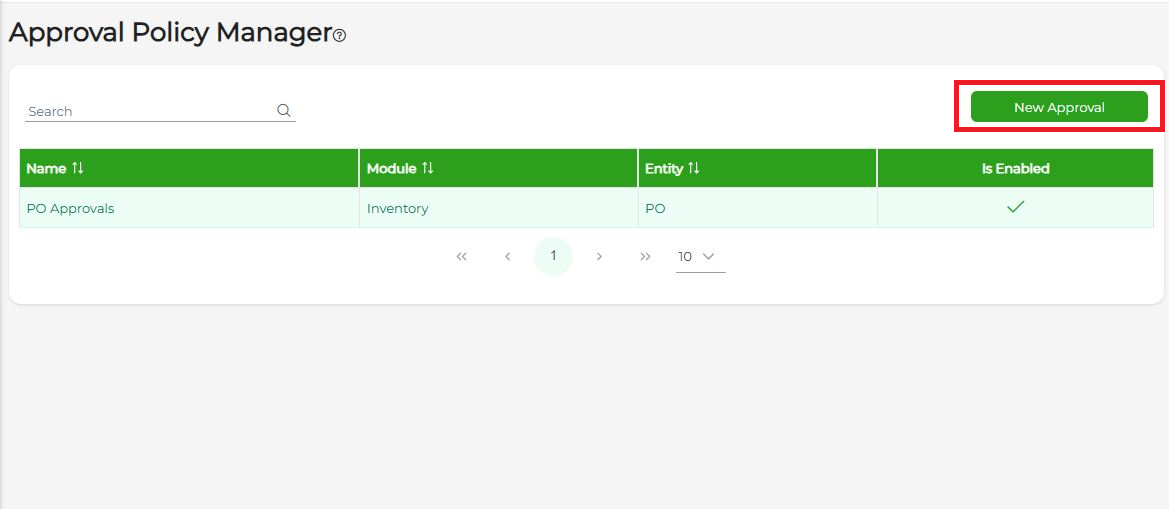
- Click on the New Approval button to create a new approval policy.
- Enter the Approval Name, select the required Module, choose the applicable Entity, and then select the User who will act as the approver. After completing all required fields, click on the Save button.

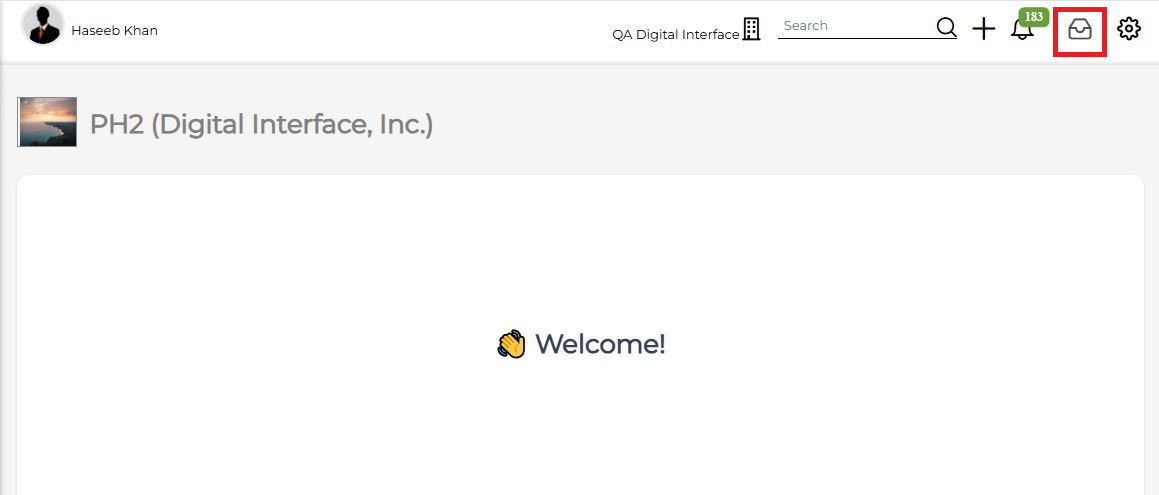
- To approve/reject transactions, click on the Approval icon as shown in the image below. You will be redirected to the list of transactions that are pending approval.
- Locate the transaction that you want to review for approval or rejection. After reviewing the transaction details, click on Approve to approve the document or click on Reject if changes are required. In case of rejection, ensure that a proper reason is entered so the creator can make the necessary corrections before resubmitting.

Was this article helpful?
That’s Great!
Thank you for your feedback
Sorry! We couldn't be helpful
Thank you for your feedback
Feedback sent
We appreciate your effort and will try to fix the article